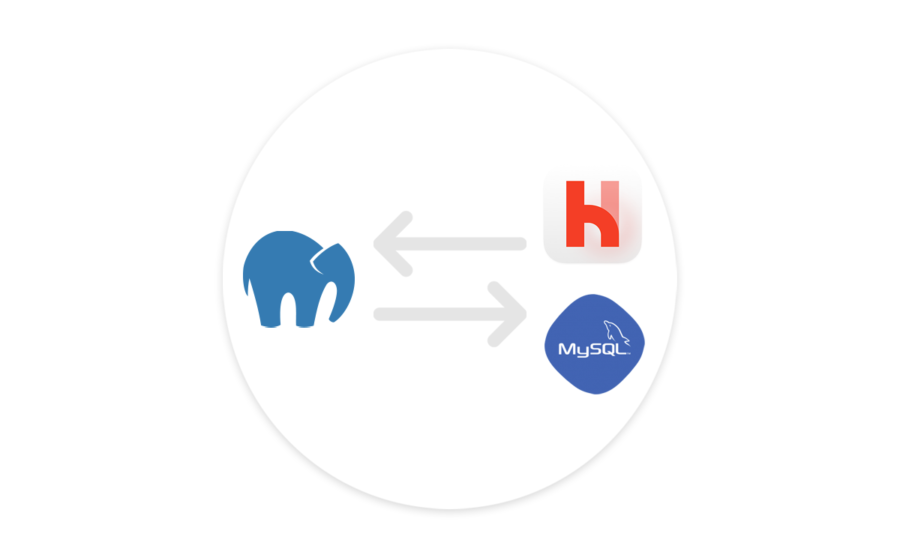
In this post we'll detail how to install MySQL 8.x on macOS, along with Laravel Herd, and removing MAMP for an updated and speedier local developer environment!
With MySQL 5.x reaching end of life this year, and generally clunky and glitchy behavior from MAMP, we've finally decided to ditch MAMP in favor of Herd!
We’ll be moving to a lighter weight, more nimble system. And best of all, we can install MySQL 8 and migrate our existing databases over from MAMP!
Ready to find out how? Let's get started!
Why switch from MAMP?
For local developments, MAMP’s always offered enough speed and flexibility to get by.
But lately we've done nothing but fight it to get things working, and the speed has been painfully slow to boot.
With MAMP continuing to fall behind, and the performance getting generally worse, not to mention MySQL 5.7 reaching end of life this month (October, 2023) and no signs of MySQL 8 support in MAMP, it feels like a no-brainer.
Installing MySQL 8
First we'll want to stop and quit MAMP and ensure all of it's services have stopped to avoid conflicting port errors.
We'll be using Homebrew for this install. So before we install any package, or Homebrew itself, we first need to install the Xcode Command Line Tools.
With the Xcode command line tools and Homebrew installed, we can install the latest MySQL 8.
- Install Xcode command line tools:
- xcode-select --install
- Install Homebrew (if not currently installed, if so make sure you have version 3 or greater):
- /bin/bash -c "$(curl -fsSL https://raw.githubusercontent.com/Homebrew/install/HEAD/install.sh)"
- Install MySQL 8
- brew install [email protected]
NOTE: we'll wait to start until we've migrated our existing MySQL 5.x databases...
- brew install [email protected]
- (Optionally) Install Redis:
- brew install redis
- brew services start redis
Finish MySQL 8 installation
We should have everything installed and ready to go at this point.
We'll need to secure the install.
- mysql_secure_installation
- enter password for "root" user (use password "root" to keep it consistent with MAMP for local development, and so you won't need to change passwords in your env files)
- VALIDATE PASSWORD COMPONENT NO
- Use existing password for root? YES
- Remove anonymous users? YES
- Disallow root login remotely? YES
- Remove test database and access to it? YES
- Reload the privileges table now? YES
With secure install complete, test that you can access your database:
- mysql.server start
- mysql -u root -p
- exit;
- mysql.server stop
Migrate database from MySQL 5.x
If you have the MySQL server running currently, go ahead and stop it now (mysql.server stop). If you have MAMP running, go ahead and shut it down as well.
Navigate to your existing database. For example, in MAMP PRO it's located at:
/Library/Application Support/appsolute/MAMP PRO/db/mysql57
Next navigate to your newly installed MySQL database location, which should be located at:
/usr/local/var/mysql
Make a backup of the base install and then replace the contents of the "mysql" folder under /usr/local/var with the contents of your MAMP MySQL folder
- zip -vr mysql.zip /usr/local/var/mysql/
- rsync -avr /Library/Application\ Support/appsolute/MAMP\ PRO/db/mysql57/ /usr/local/var/mysql
Once you've copied over your existing database(es) you can start MySQL up again! Note that it will take a bit longer this time to start up as it migrates your existing databases to MySQL 8.
mysql.server start
Install Laravel Herd
Herd Notes
Laravel Herd works a bit different than MAMP. It will automatically look for any sites installed at:
~/Herd
While in MAMP sites are typically located at:
~/Sites
Additionally, Herd will name sites the same as the project folder. So if you have laravel-project-2023, for example, it would be accessible at laravel-project-2023.test, which may or may not be what you're after!
To solve this, the simplest solution is to navigate to your project and issue the herd link command to manually link up a site:
herd link sitename
Using the above syntax, you can define your "sitename" to use any URL you desire.
Finishing up
With the above in place, you should be able to completely uninstall/remove MAMP from your system.
Redis should automatically start up (if you opted to install it) on each computer boot. And you can configure Herd to run on boot as well, so your local developer environment is always ready to go!
You now have MySQL 8.x, the latest PHP, and a wicked fast local environment that's easy to manage.
We opt to manually start the MySQL server on reboot, but you can also add that to the Homebrew autostart.
We hope you've found this article useful in your local dev ventures! 🧑💻